Digging a 3 ft cubed hole in the ground showed me I'm not as fit as I used to be.
The concrete delivery (minimum 1 cubic metre) looked like it was a LOT more than I needed, I had calculated that I'd need approx 0.92 cubic metres. So got going and would decide what to do if it looked like I was way over. Filled 6" of concrete, set in the first of 3 rebar cages I'd made, more concrete rebar concrete rebar until ground level reached, my daughter was a great help on poker duty.
When I reached ground level, placed the pier form I'd pre-made (245mm O/D unlined piling tube from EssexTubes) to a height of 2 foot 6 inches. Filled the pier (rebar rods to the base of the footing used for extra support).

Finishing off
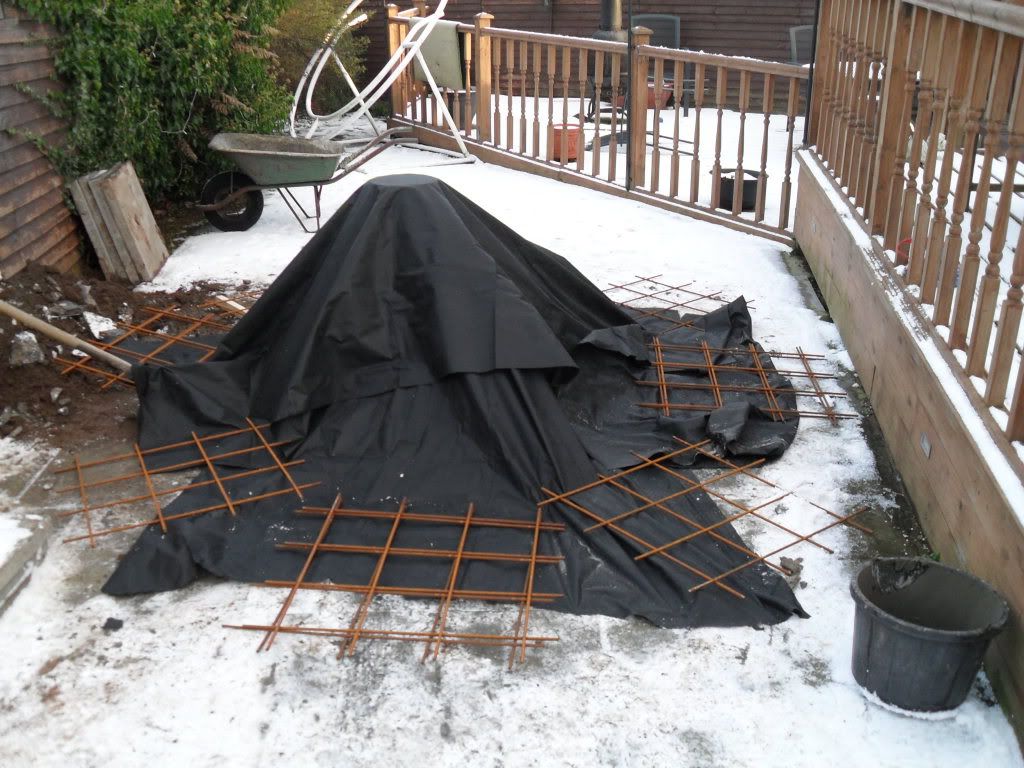
You may have noticed that its no longer square. Given that it's easier to get rid of soil than concrete, the length was widened a little down to a depth of 6 inches on either side which was enough for the remaining concrete.

Lastly some cover to keep the frost at bay while it cures
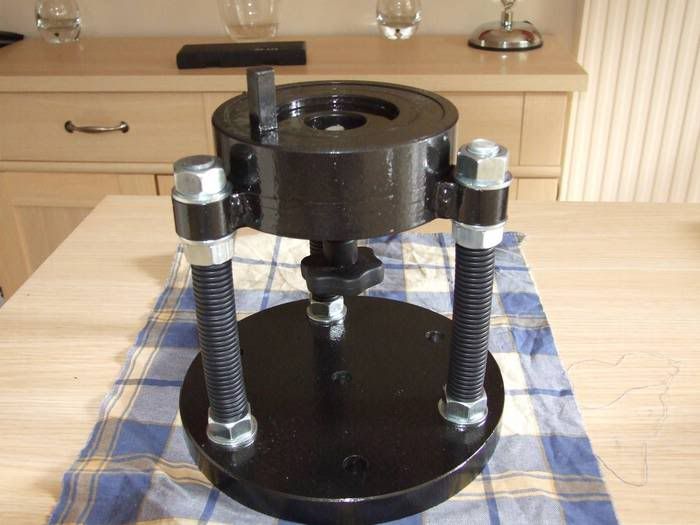
Last piece of the puzzle was a custom made pier top.
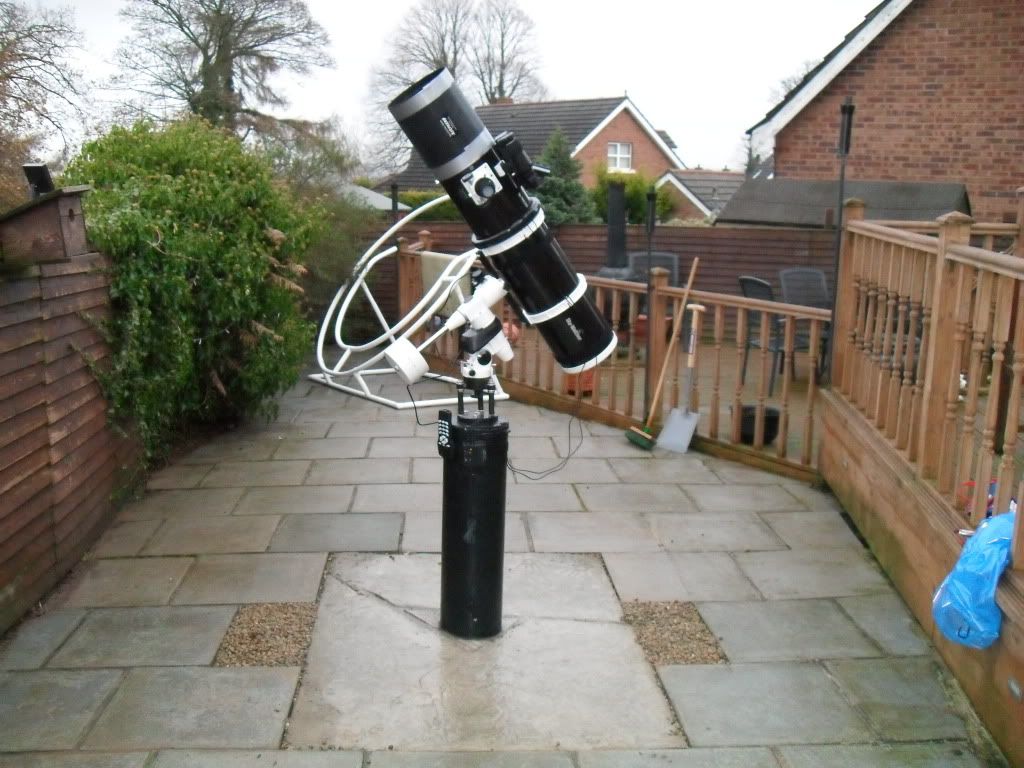
And here it is, my finished pier. Ignore the white circular thing in the background, someone told me it'd improve my golf swing but it never did :-)
No comments:
Post a Comment