Saturday, 26 February 2011

How hard can it be really

When I first thought about getting into Astrophotography I thought "How hard can it be?", just get a telescope whack a camera on there and away you go.  How wrong was I, the image below shows the components involved in what is considered to be a reasonably basic imaging set-up.  Two elements the call-outs don't show are the comma corrector and light pollution filter that sit in front of the camera.


I went down the remote control route after one very cold night outside, the notebook screen iced over, not just outside but inside too, when it thawed out I was expecting a puff of smoke when I switched it on for the first time.

The wireless joystick I have to admit was just for the hell of it, but never fails to impress if someone calls round to take a look see.  Hell, if it wasn't over engineered where'd be the fun in that :-)

Almost frightened to say it but

The forecast for tonight is looking good.  List of things to do consists of:

  • Perfect my Polar Alignment (using EQAlign software).
  • Record at least one hour worth of PE (Periodic Error) data (again using EQAlign software).
  • Analyse the PE and create a PEC (Periodic Error Correction) curve (I'll use EQAlign to capture the data, PECPrep to analyse it and create the PEC curve).
  • Perform some guiding tests to see if I can push exposures up to 10 mins.

The forecast shows almost zero cloud cover up-to about 0300 tomorrow so time permitting, I want to start to capture some luminosity subs for M31 (Andromeda).  The only photo I have of it is really really bad.

Well, at least I have a plan.

Monday, 21 February 2011

Images I've taken to date

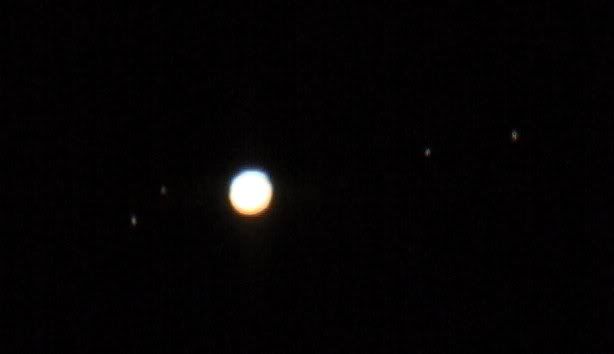
My first attempt at Jupiter, I did manage to capture four moons though the shot was very over exposed.

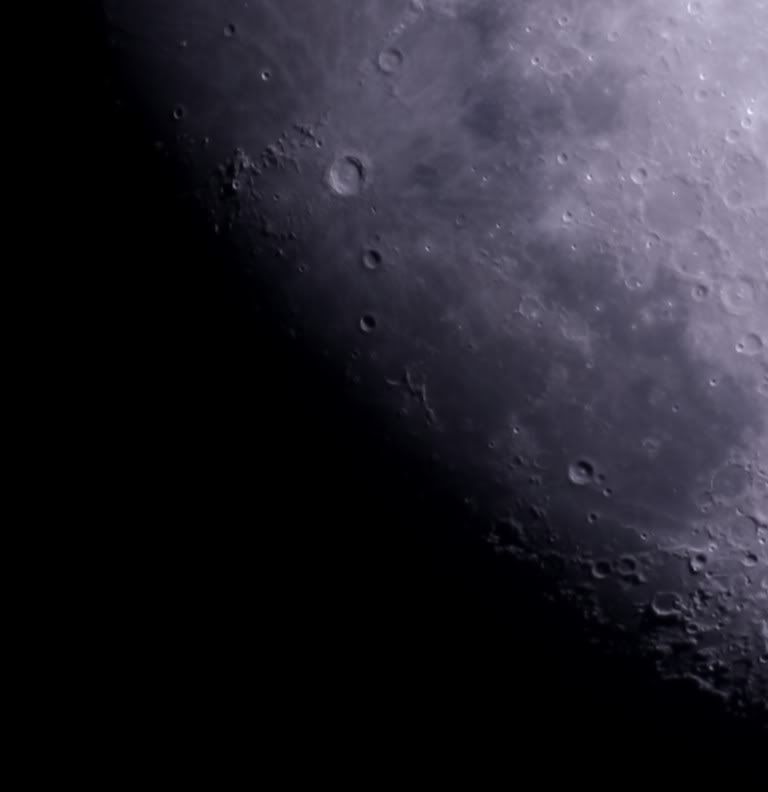
I've taken quite a few shots of the moon. For now I've pretty much just taken shots of regions I thought looked interesting at the time. There is however a Lunar 100 that I ultimately want to hunt down.

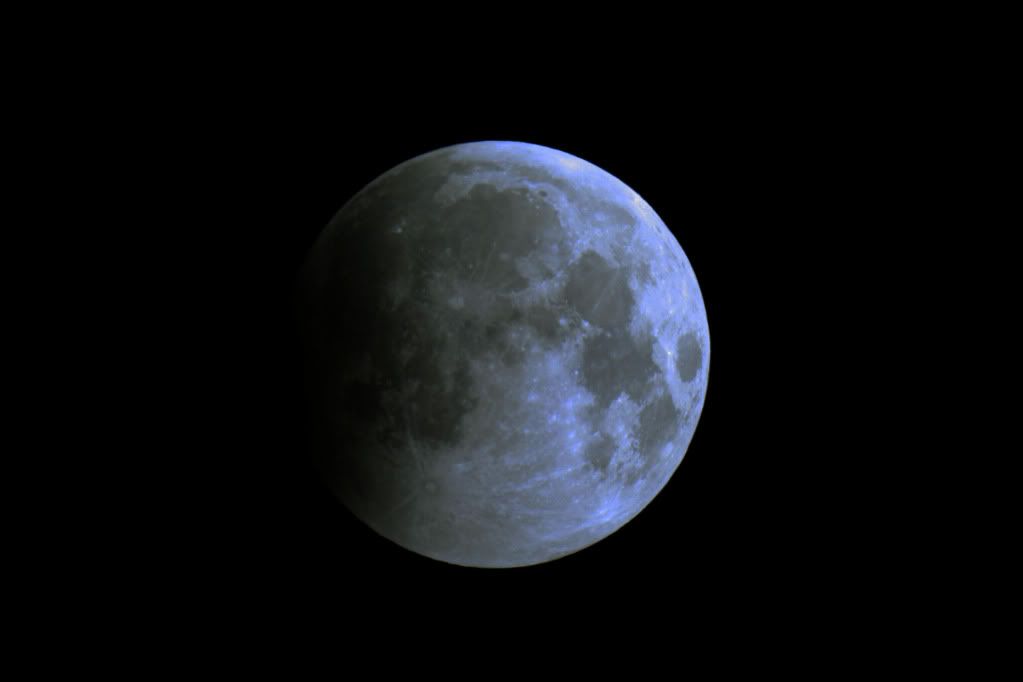
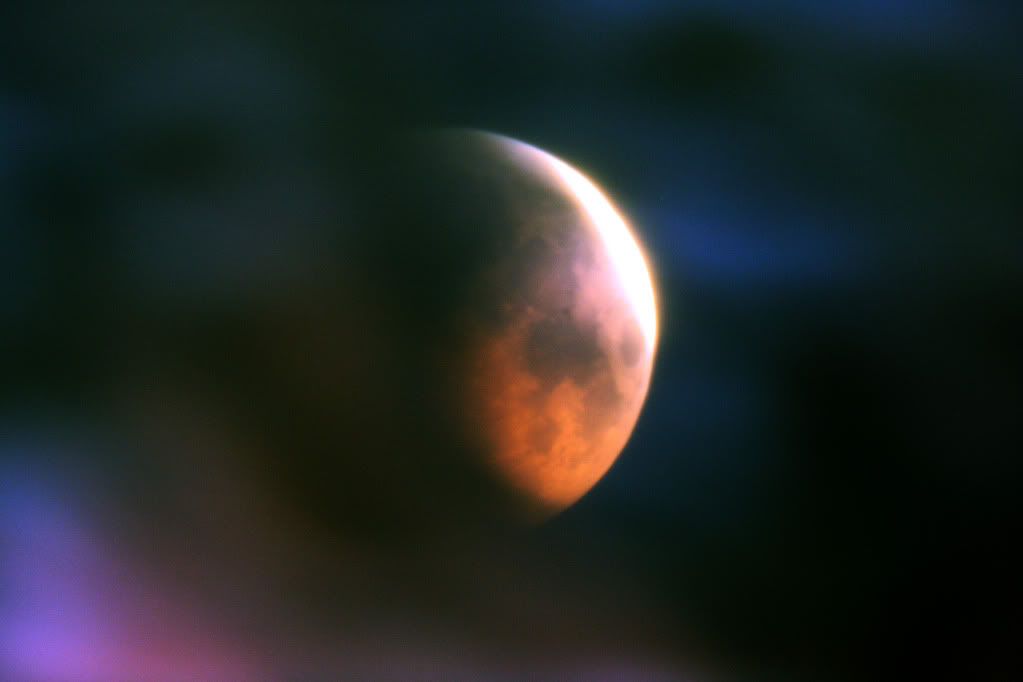
Start of lunar eclipse on 4th Jan 2011

Totality of 2011 Lunar eclipse, shot was through trees so quite a poor effort

The French astronomer Charles Messier discovered many of the 110 star clusters, nebulae and galaxies commonly known as the Messier catalog.  These are the ones I've managed to track down so far.


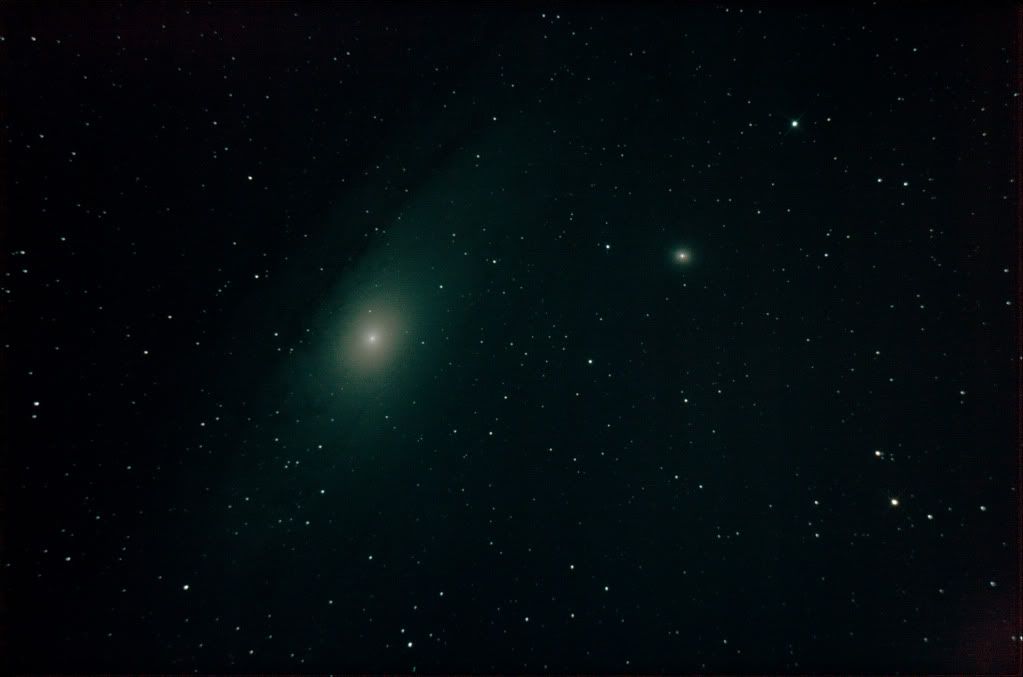
M31 is a Spiral Galaxy in the constellation Andromeda, it's distance isn't precisely known but is estimated to be between 2.4 and 2.9 million light years away.  Date taken: 01-10-2010 Setup used: ISO 800 11 x 30 sec subs, 0 Dark, 0 BIAS, 0 Flat

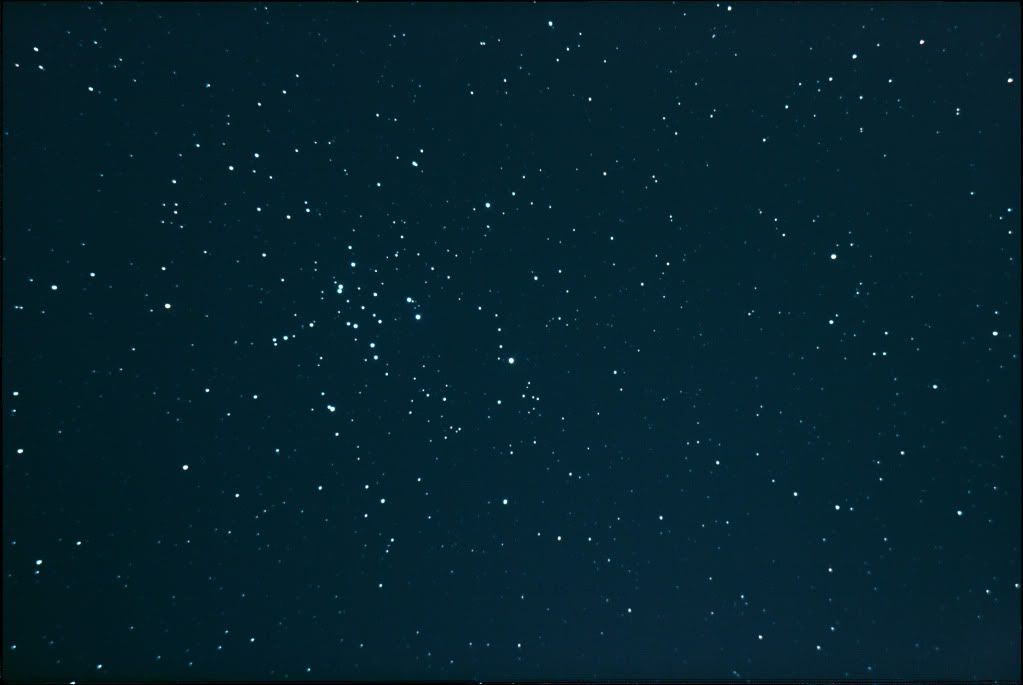
M34 is an open cluster in the constellation Perseus, it's 1,400 light years away.
Date taken: 01-10-2010 Setup used: ISO 1600 10 x 30 sec subs, 0 Dark, 0 BIAS, 0 Flat

M42 is a diffuse nebula in the constellation Orion, it's approximately 1,600 light years away.
Date taken: 05-10-2010 Setup used: ISO 800 32 x 30 sec subs, 0 Dark, 0 BIAS, 0 Flat.


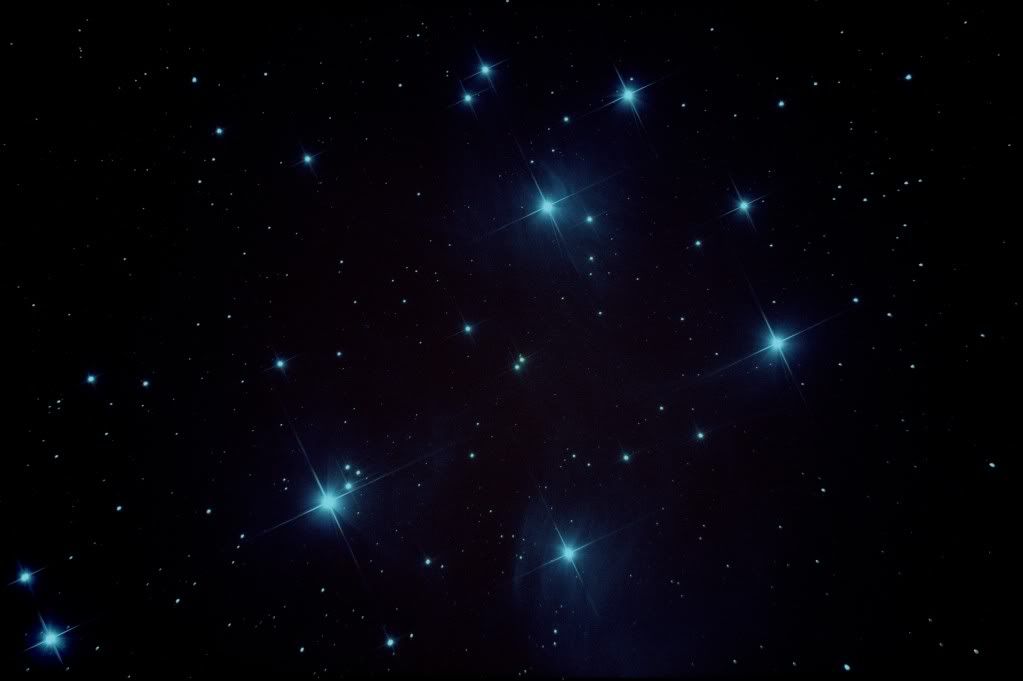
M45 is an Open Cluster in the constellation Taurus, it's 380 light years away.
Date taken: 05-11-2010 Setup used: ISO 800 5 x 120 sec subs, 0 Dark, 0 BIAS, 0 Flat

M103 is an Open Cluster in the constellation Cassiopeia, it's around 8,000 light years away.
Date taken: 06-01-2011 Setup used: ISO 800 3 x 5 min subs, 3 Dark, 0 BIAS, 3 Flat


Setup setup setup

In order to be able to take long exposure photographs (anything up to 10 mins for some objects), the Polar alignment of the scope needs to be as close to perfect as possible.  I found setup was taking a LOT of time each night (upwards of 2 hrs) so decided to put in a permanent pier.  That would allow me to perform an accurate polar alignment and not need to redo it each night.  That and the fact that kicking the tripod legs halfway through an imaging run was turning the night air blue with expletives.


Digging a 3 ft cubed hole in the ground showed me I'm not as fit as I used to be. 

The concrete delivery (minimum 1 cubic metre) looked like it was a LOT more than I needed, I had calculated that I'd need approx 0.92 cubic metres. So got going and would decide what to do if it looked like I was way over. Filled 6" of concrete, set in the first of 3 rebar cages I'd made, more concrete rebar concrete rebar until ground level reached, my daughter was a great help on poker duty.

When I reached ground level, placed the pier form I'd pre-made (245mm O/D unlined piling tube from EssexTubes) to a height of 2 foot 6 inches. Filled the pier (rebar rods to the base of the footing used for extra support).


Finishing off

You may have noticed that its no longer square. Given that it's easier to get rid of soil than concrete, the length was widened a little down to a depth of 6 inches on either side which was enough for the remaining concrete.

Lastly some cover to keep the frost at bay while it cures

Last piece of the puzzle was a custom made pier top.

And here it is, my finished pier.  Ignore the white circular thing in the background, someone told me it'd improve my golf swing but it never did :-)


Equipment

Binoculars: Nikon Action EX 10x50 CF
Scope: Skywatcher Explorer 200P (8" aperture 1000mm focal length f5)
Eye Pieces: Revelation Photo-Visual Eyepiece kit, GSO 32mm Super Plossl, Skywatcher Laser Collimator, SkyWatcher 12.5mm Illuminated Reticule Eyepiece 
Mount: EQ5 with SyncScan GoTo upgrade kit
Dew Prevention: Astrozap Flexible Dew Shield & Heater Tapes
Camera: Canon EOS 1000D (unmodified)

Guide Camera: QHY5 mounted on a 9x50 straight-through finder scope
Filters/Correctors: Astronomik Standard CLS Filter, Skywatcher LPF, Skywatcher Coma Corrector


This is how it looked when first setup.